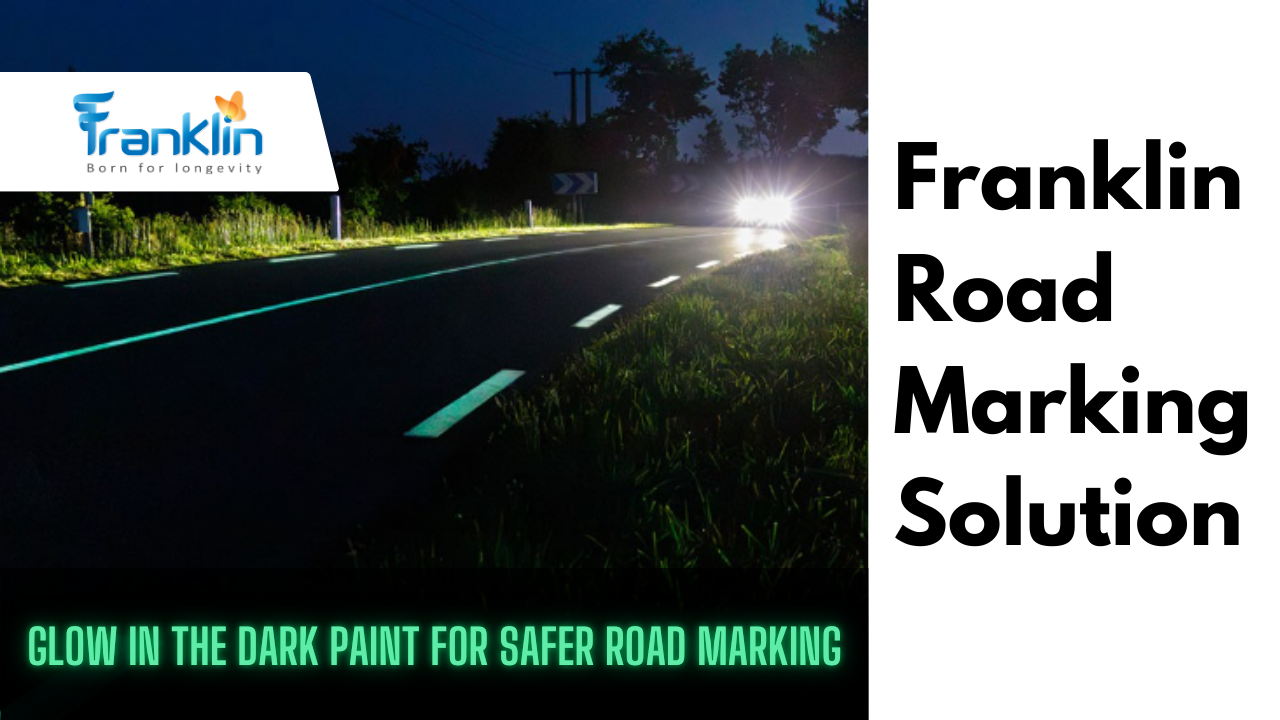
WHAT IS GLOW IN THE DARK ROAD MARKING?
The concept of Glow in the dark Road Markings gained heightened attention following an article from BBC News, catching public interest in this innovative safety feature.
Glow in the dark road markings come in various forms, primarily solvent-based paint, water-based paints, and thermoplastic paint. Solvent-based paints are chosen for outdoor road due to their durability and strong adhension. Water-based paints, known for their eco-friendly benefits, are equally popular in some countries.

Thermoplastic paints represent another excellent choice with its weather and ware resistant , allowing for the fusion of glow in the dark pigments with thermoplastic materials.
HOW TO AVOID DANGER BY GLOWING ROAD?
Traffic-in-night At night, visibility drops and certain areas, like sharp curves and pedestrian crossings, become especially risky accident hotspots. Many cities have tried to make nights safer by putting up more streetlights, improving road markings, and upgrading traffic lights, but these improvements don’t always reach every area. Where there is a lack of lighting, accidents are much more common—actually, over 40% of accidents happen in areas with poor lighting.

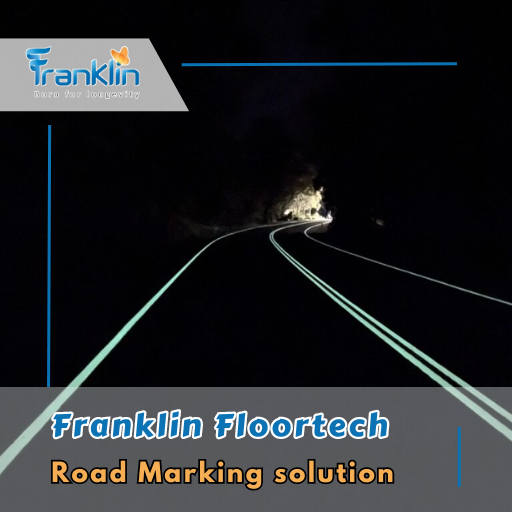
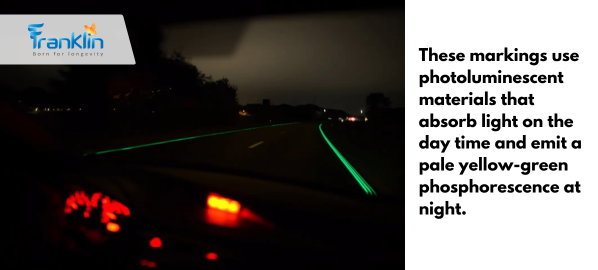
Glowing road markings primarily serve as visual warnings rather than illuminating pathways like traditional lighting. These markings use photoluminescent materials that absorb light on the day time and emit a pale yellow-green phosphorescence at night. This soft glow is especially useful in darkness for sidewalks, sharp curves, and other high-accident areas, enhancing safety by providing visual signals.
Charged by natural light during the day, these photoluminescent materials ensure that even in dark areas, they provide a significant safety benefit in the evening to midnight. The phosphorescence light is a little weak, but still workable. This makes them an ideal solution for enhancing road safety in different settings, particularly where electrical solutions are impractical.
HOW TO SELECT GLOW PAINT?
There are various glow paints available on the market. When selecting one, there are three key indicators to consider, which include colors, glow powder brightness level, and powder dosage. For road markings, yellow-green color is the best choice because its unique chemical properties provide the highest brightness and the longest afterglow time, which are closely related to the safety attributes of road markings. Higher brightness powder is suggested since in the evening the outdoor is not extremely dark due to moon light. Higher one can present better glow performance. The dosage of glow powder is also important. Road markings usually require a 20%-40% ratio. Lower dosage will result in lower brightness and shorter afterglow. Conversely, paints with a higher dosage have better glow performance.
HOW TO APPLY GLOW IN THE DARK PAINT
Step 1: Choose a Suitable Location for Glow Paint Application
It’s important to select the right location for applying glow markings, especially for first-time manufacturers. We recommend laying the markings in areas without electricity light around, such as street light, advertising light etc. Glow in the dark paint is particularly suitable for dark areas, especially in completely dark environments.
Step 2: Choose the Appropriate Equipment
Whether you’re using solvent-based or oil-based paint, you can apply glow in the dark paint with the same road marking machines you already have. Just swap out for a special nozzle, normally 1.5-2mm suggested. For thermoplastic glow in the dark paints, you can also use your previous machines. Applying glow in the dark road markings do not require any special machinery. No need to invest in new construction equipment.
Step 3: Prepare the Surface and Apply Primer
Getting the surface ready is key to making sure the paint sticks well and really glows. The surface needs to be clean, dry, and free of any grease or bits of debris. It should also be smooth to avoid any uneven spots, especially on porous surfaces like concrete. If you want the best glow, go with a white primer because it can reflect light. The primer doesn’t need to be too thick, just make sure it covers evenly in white.
Step 4: Apply the Glow Paint
Thoroughly stir the paint before use to ensure an even distribution of photoluminescent pigments. After the primer has completely dried, you can apply the glow paint. For the best effect in the dark, Glowup® advises to spray 2 layers of glow paint, with around 200g/m² for each layer. 1kg paint can covering approximately 2-2.5㎡. If the width of the road markings is 15cm, then it can cover around 15 meters with 1kg paint.
GLOW PAINT ON ROADS: EXPECTATION VS. REALITY
Glow-in-the-dark-in-google
You might have seen some pictures on the Internet that the glow in the dark lines seem to light up faces just like regular electric lights. It’s got a lot of folks excited about using that glow in the dark paint on roads. But here’s the thing – in real life it’s not quite like that. The glow in the dark paint actually gives off this yellow-green glow very softly, kind of like phosphorescence. You can see it outdoors from evening till midnight, but it’s pretty subtle. When you snap a pic with your phone or camera, though, the auto exposure makes it look way brighter than it actually is. That can throw off folks who aren’t familiar with how it works.


Our field tests have found that the glow in the dark marker line remains visible until midnight only in complete darkness without any electric light around. It can only provide guidance to pedestrians when there is no influence from headlights, street lights and other light sources. Therefore, glow road marking is more suitable for roads in rural areas, suburbs, or areas without electricity facilities, or in places where public lighting is turned off at night. In such situations, glow road marking will have the greatest impact in rural areas and suburbs, providing a glowing guide for cyclists and walking people.


